By LACeiling
March 04, 2020
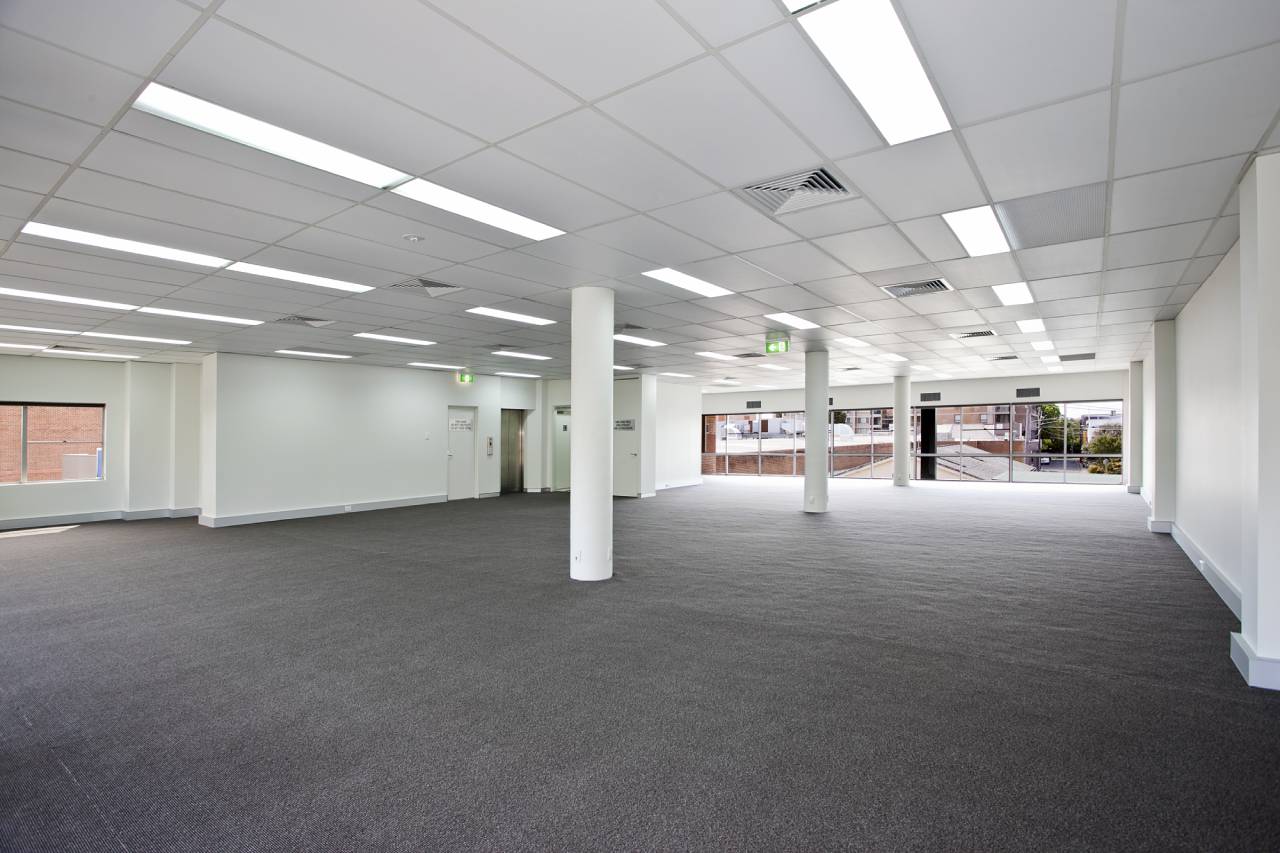
Acoustic ceilings, also called drop ceilings or T-bar ceilings, are quite popular in commercial settings. If you are looking to create a new build or renovate an existing space, acoustic tile ceilings are a great option to consider. If you love the look, functionality, simplicity, or cost-effectiveness of an acoustical tile ceiling, a contractor can carry out the installation and transform your space as needed. Below, find out how this installation process is carried out.
Design and planning
Here the ceiling contractor will plan how to install a suspended ceiling by drawing up a layout of the entire space. They will draw a ceiling plan showcasing the area span of the ceiling and the grid layout of the ceiling. This will allow them to estimate how many ceiling tiles and how many grid frames will be needed for that installation.
Mapping lights and other fixtures
Next they will use their drawn up ceiling plan to determine how to install light fixtures in the suspended ceiling. They will discuss with the client which lighting fixtures are to be installed and they will map out where each of these fixtures will be located on the ceiling.
Identifying the ceiling height
At which point on the wall below the original roof will the new acoustical ceiling be installed? The contractor will have to establish the ideal installation height. They will do so by measuring the entire height from the floor to the old ceiling/roof. They will then calculate the ideal point along this wall height to install the ceiling while allowing enough standing room, as well as enough room above the ceiling for infrastructure installation.
Levelling the ceiling
Next the builder will deal with how to level a suspended ceiling. It is critical that the new ceiling is level so that it looks professional and even from end to end. A good contractor knows that they cannot assume that the floor or the original ceiling is level. They will have to use their tools to establish a fresh installation line along all the walls.
Installing wiring, fire sprinkler piping, and other infrastructure
Then comes the installation of the ceiling infrastructure. This is a big part of the ceiling installation process and if not done well then the entire process may have to be revisited. Here the lighting wiring, fire sprinkler plumbing, and other infrastructure such as HVAC will be laid out.
Attaching suspension wires
The grid system in acoustic ceilings is held together by strong wires suspended from the roofing structure. These are installed at this point. Not only do they have to be spaced evenly and cut long enough to reach the ceiling height, they also have to be suspended firmly onto strong anchor points for strength.
Installing the ceiling grid
Next the grid system is installed. This often starts with the mounting of the wall angles all along the walls of the rooms. These have to be installed carefully while observing the level of the ceiling. Once mounted, the main T-bars are installed, followed by the cross T’s. Together these two sets of bars intersect at right angles to create the grid system that will hold the ceiling tiles in place so precision here is critical.
Installing the ceiling tiles
The next part is easy. As along as the grid Tees were installed correctly then this part should be a breeze. The ceiling tiles are brought up to the grid and mounted into place. If you are wondering how to replace suspended ceiling tiles, it’s just the opposite.
Installing ceiling tile lighting
Finally the lights are installed. It could be ceiling tile lights which are installed in the same way as the other tiles, it could be recessed lights that are fit in holes cut out of the tiles, or it could be fluorescent tubes mounted or suspended from the grid frames.